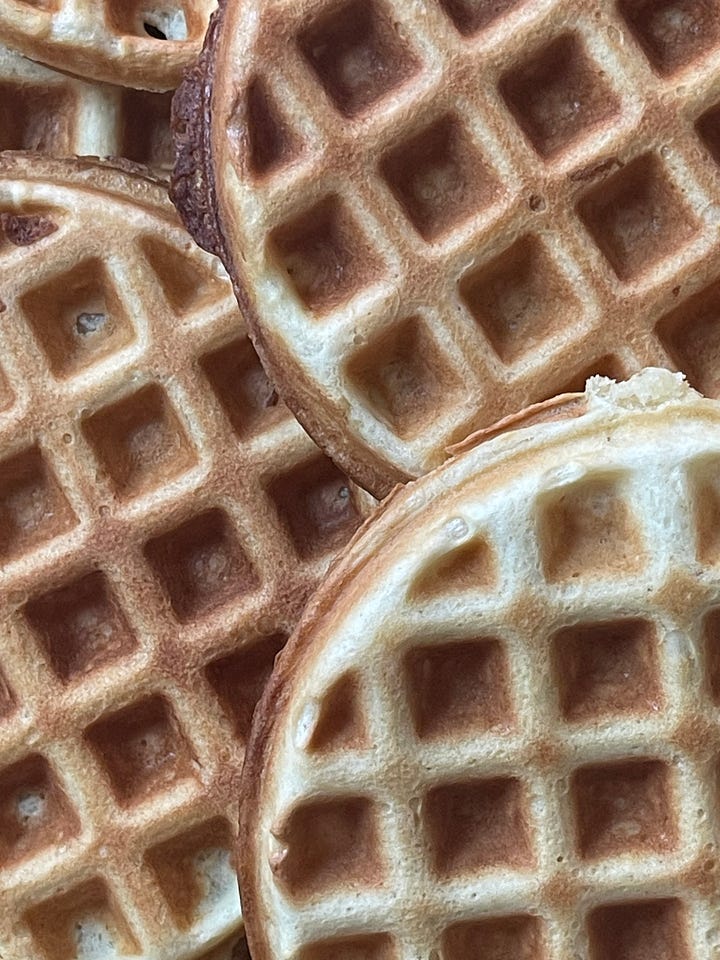
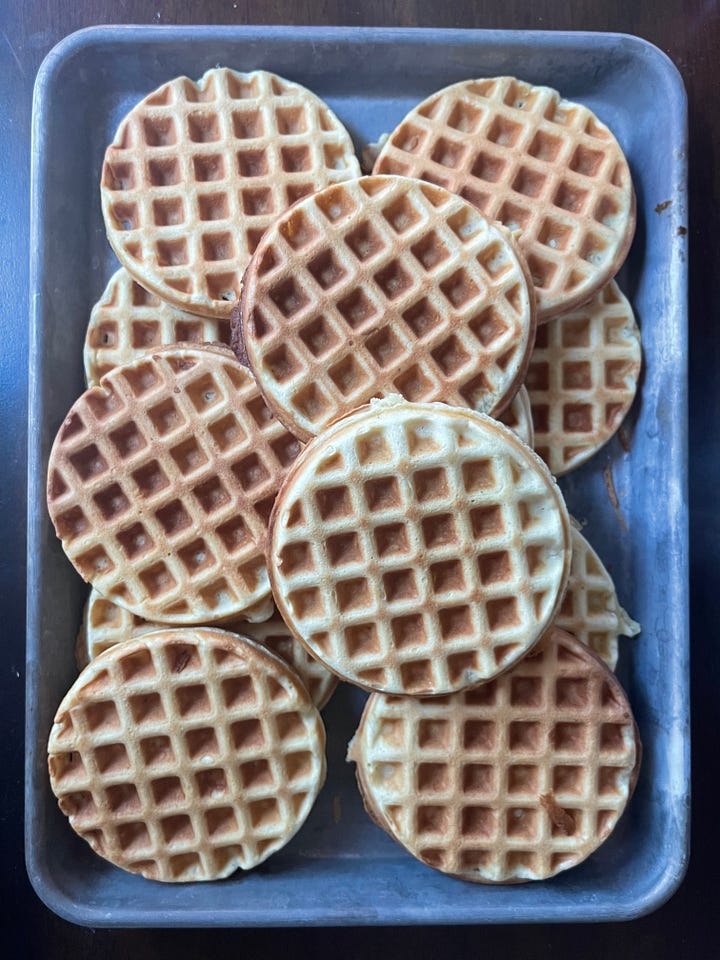
Toaster Waffles
Leggo your... other frozen waffles... make these instead.
This is the absolute pinnacle of making something that’s convenient (boxed, frozen waffles) inconvenient by turning them homemade, just to make them convenient again by bagging and freezing them. Eggos were a lifesaver when I was a kid, and as I got to be a teenager I’m sure they were a big thorn in my Mom’s side with how many boxes she’d have to buy.
Having a kid of my own now, I do appreciate how easy these are to just pull out and make for my daughter whenever she’s struggling to tell me what it is that she wants for breakfast.
I’m not going to claim that I’m duplicating the recipe of the most well-known brand that makes these things commercially; this recipe is about making something that cooks quickly the first time, stores well frozen, and cooks well the second time in a toaster, from frozen. That might sound like an easy task, but I’ll stress to you that the brand that you’re thinking of as you read this doesn’t so much cook its toaster waffles as it does engineer them to do exactly what you know them for.
So with that said, the benefit of this recipe is really that you know all the ingredients that went into it, you controlled the packaging and storage of it, and you can stand over your toaster with your bleary-eyed, half-awake stare across your kitchen at your (hopefully) adoring child knowing that the waffles that they’re about to douse in entirely too much syrup were made by human, not robot.
I will admit, this isn’t going to be everyone’s cup of tea. For one thing, not everyone even ate Eggos or the like growing up (or eats them currently), so I can understand that folks might not be into the idea of making mini waffles for the same reason you wouldn’t make bagel bites at home… it’s just more of a pain than it’s worth. That leads us to reason number two I shouldn’t be doing this: Not everyone has a waffle maker in their home, but far fewer people have a mini waffle maker at home, because, well… they’re ridiculous.
I am a reluctant collector of kitchen equipment and appliances. I have far too many single-use, used-only-a-handful-of-times tools in my kitchen. Many of them are concealed from everyday view and interaction, and I run into them when moving and think to myself, “wow, I can’t believe I still have that. I should just get rid of it; I never use it. But… nah.”
My mini waffle maker is not shaded under that umbrella, hidden in a dark closet, or concealed from view in any way. It’s right there for anyone that wanders into my kitchen to see. In fact, you can’t miss it, because in a sea of stainless steel and black appliances, the mini waffle maker greets you in all its purple plastic glory. What’s worse, to test and hone this (and some other) recipes, I recently added its big, seafoam green brother, which cooks four waffles at a time.
Under normal circumstances, I’d advise anyone looking to purchase a waffle maker to look for one that has a temperature dial, but in this case, you have no option. The mini waffle maker is either on or off. It was, however, cheap. I bought mine for $7 off the sale rack in a craft store, and they can regularly be found on big-box online retailer sites for $12 or $15. The larger version was less than $40.
So we have established that they’re affordable, and we know given the size of the waffle they produce that they don’t require much space to store (save for the four-waffle cooker), but are they useful?
Absolutely.
I have stressed multiple times in this month-long waffle talk that you should be using either portion scoops or measuring cups to transfer batter to your waffle irons, so that your waffles are all the same size, and so that you prevent batter spillage. Regardless of how exact your measurements are, and how precise the recipe you’re following is, there always seems to be a little bit of batter left over. Not enough to make a full waffle. Sometimes not even enough to make a half waffle. That’s where the mini waffle maker excels… avoiding waste. I ALWAYS have the mini waffle maker plugged in when making regular sized waffles so that I can scoop the last 2-3 tablespoons of batter into it. Usually, everyone has their own waffle at that point, so the mini waffle is a bonus, or it can cool at room temp and go into a resealable plastic bag in the freezer.
Although I do provide a recipe below for frozen toaster waffle, and I do contend that it’s a worthy one, I have a hard time imagining anyone other than myself standing over a steaming, purple mini-waffle maker for a 30-45 minutes, cranking out 12 waffles that are meant to go straight into the freezer rather than into my mouth (and again, this is where it helps to have the four-waffle maker). I’m just ridiculous enough to own two mini waffle makers, but also grounded enough to know not everyone is as ridiculous as I am. That said, if you have kids (and let’s face it, that’s another big reason to even have one of these mini waffle makers), a big batch of mini-frozen waffles affords you some flexibility in the mornings, as well as the peace of mind knowing what is in the food you serve. (Plus you can add some toppings like nuts or chocolate chips)
Time required
45 minutes total; Batter -15 minutes, Cooking -30 minutes
Yield
12 mini waffles
Equipment
Mini Waffle Maker
Large Mixing Bowl
Medium Mixing Bowl
Whisk
Measuring Cups and Measuring Spoons
Fork (for removing the waffles from the iron)
Non-Stick Cooking Spray
1/2 Sheet Pan and Drying Rack
Re-sealable Freezer Bag
Ingredients
1 1/4 cups AP Flour
¾ cup Corn Starch
3.5 tbsp Granulated Sugar
2 tsp Baking Powder
1/2 tsp Baking Soda
3/4 tsp Kosher Salt
1 1/2 cups Whole Milk
1 Egg
1 tbsp Canola Oil (or other neutral oil)
½ tsp Vanilla Extract


Method
Add the flour, corn starch, sugar, salt, baking powder, and baking soda to a medium mixing bowl and whisk lightly to fully incorporate all the ingredients.
Add the milk, egg, and canola to a large mixing bowl and whisk until the egg has broken down and the mixture is smooth. Add the dry ingredients to the wet ingredients, and continue to whisk for another minute, removing the bulk of the larger lumps.
Preheat a mini waffle iron and spray the inside with non-stick cooking spray. Spoon 1/3 cup of the batter into the center of the waffle iron, then close the lid, and cook for 3-4 minutes until the waffle is lightly golden brown, and not doughy at all. Gently remove the waffle from the iron with a fork and allow it to cool completely on a drying rack, repeating the same process in the meantime with the remainder of the batter.
Once all the waffles have cooked and cooled completely, add them to a freezer safe resealable bag, remove as much of the air from the bag as possible, and store them in the freezer for up to 6 months.
To reheat, separate the frozen waffles and toast them (from frozen) in a toaster or a toaster oven for 3-4 minutes, depending on how high your toaster cooks, and how crispy you like your mini waffles. You can even turn a conventional oven on to 275, and place these directly on the oven rack to reheat; this will take about 10-12 minutes, depending on how quickly your oven heats up, and it can be a great way to reheat a bunch of them at once.


My name is Phil. I like a toaster waffle with vanilla ice cream topped.with salt and pepper.
Admiting a problem is the first step.......